Ed Rosenthal is a cannabis expert who has written a book that offers helpful ideas on how to start your home-grown crop. “Ask Ed: Marijuana Success.” This is an excerpt from a video about how to make a wick. Ready to take part in Rosenthal’s backyard experiments?
The wick container system is an easy way to garden because it’s self-watering and removes the uncertainty of when to water. This system requires less maintenance than traditional hand-watering and is easy to assemble, inexpensive and fast.
The capillary system of the wick is used. A tissue can do this by drawing water out of a puddle. Our system works using the same principal. Instead of using tissue, we used braided nylon cord.
What you need to make a Wick System
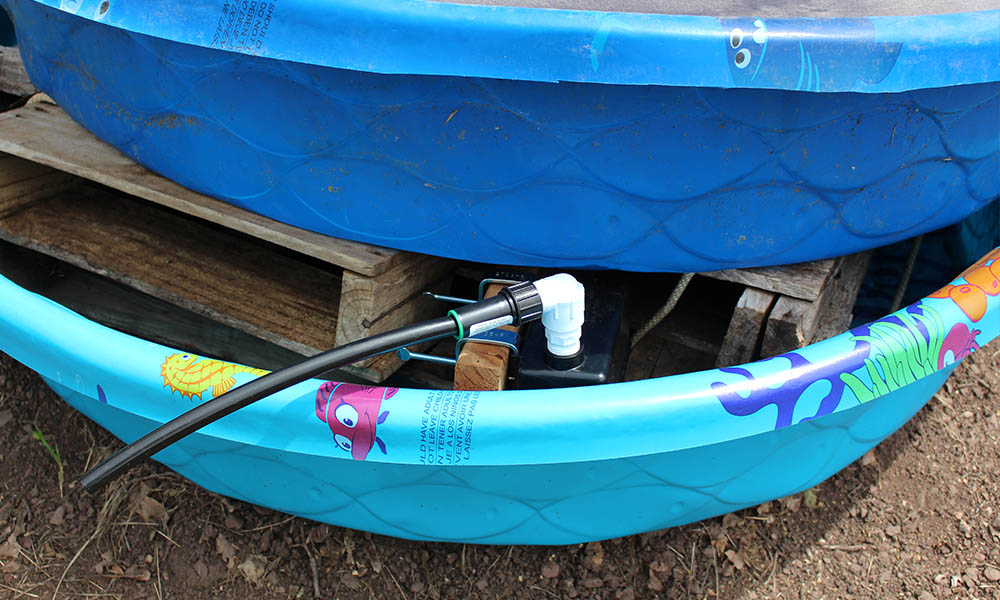
We need to start at the bottom and use a tray wide enough for the container of plants. It should be three inches in depth. As the container gets wider, so should the tray. For instance, with a 6-foot container, I use a 10-inch-deep tray, but with small containers, the tray is only 3–5 inches deep.
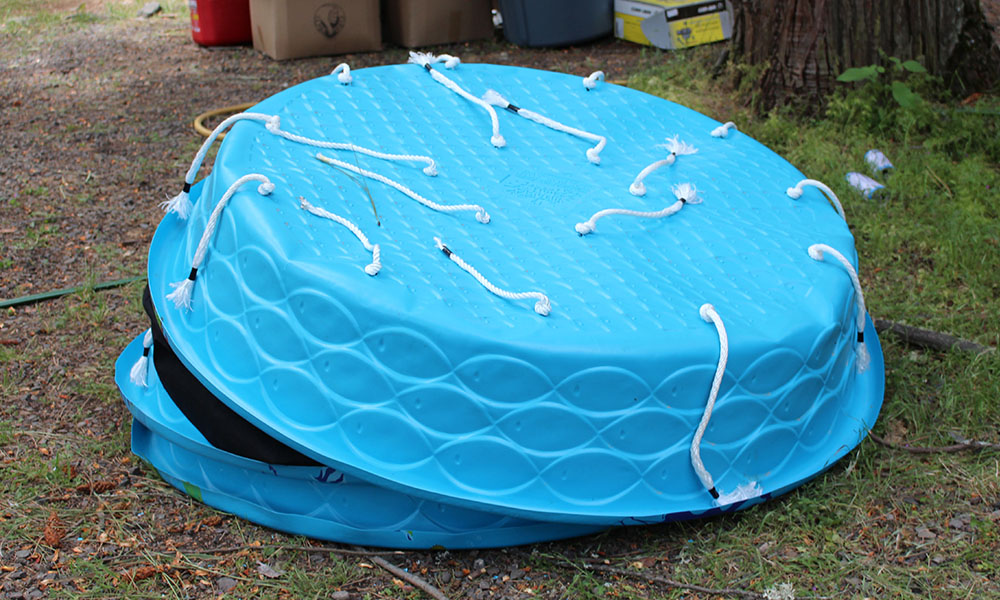
The next step is to use some blocks that will hold the container just a few inch above the tray. Some possibilities are 2′ × 4′ or 4′ × 4′ boards, Styrofoam blocks, or an inverted plastic tray.
Now, you need to select the container. The container is next. This system works with both four-inch and eight-foot wide soft containers.
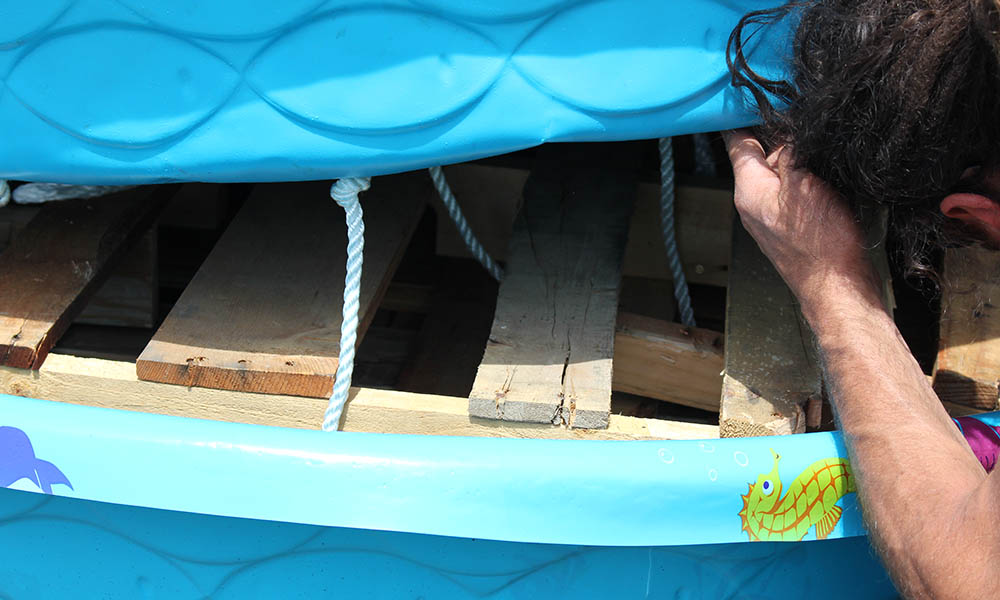
Now comes the wick. The nylon braided cord is very effective at drawing up the water. These wicks will last you a long while. Some I have used for more than 10 Years. Please select the appropriate wick. The thicker a wick is, the bigger the container. A small container needs only a ¼-inch wick, while a large container, which is deeper than the small, can use wicks up to ¾ inches. More wicks are needed for larger containers so that water can be drawn from the bottom to the top.
The planting mix is then placed in the container. Once the water is drawn up the wick to the bottom of the soil level, the soil starts wicking it up vertically 8–10 inches. You can try out your favorite mix to see if it is able draw moisture. If you’ve ever watered plants and the water ran down the tray, then the soil mixture wicked up the water. After a while, water began to disappear as it was drawn up and into the planting mixture. It works the same with wick systems.
Installation
The tray should be filled with the supports made of wood or plastic.
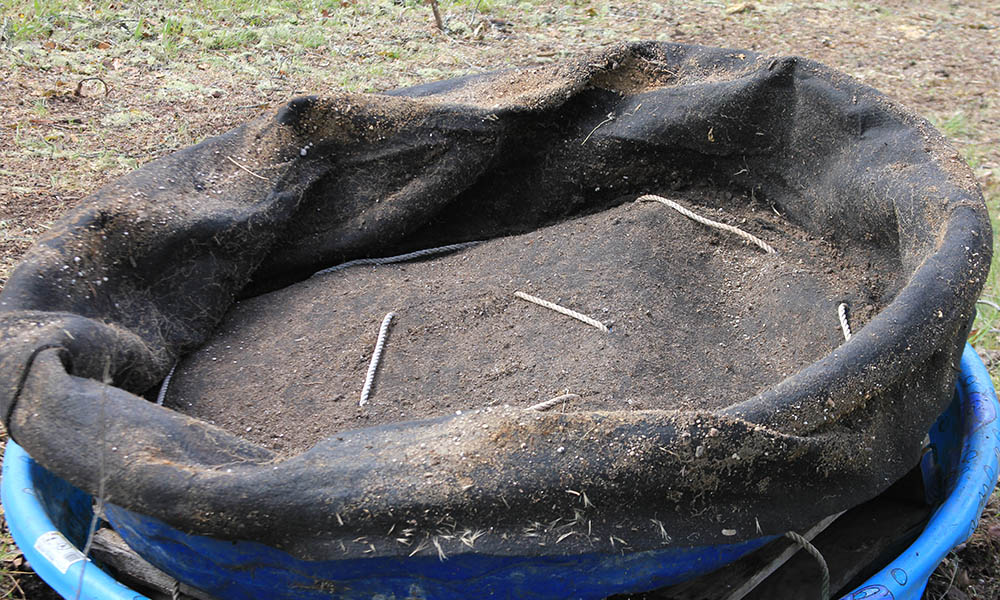
The wick should be cut to the right length. Start at the bottom and run through the drainage hole. Continue across the container to reach the opposite side of the drainage hole and then back to the bottom. It is common for the rope to fray near its ends. Use two twist ties to secure each end before cutting the rope.
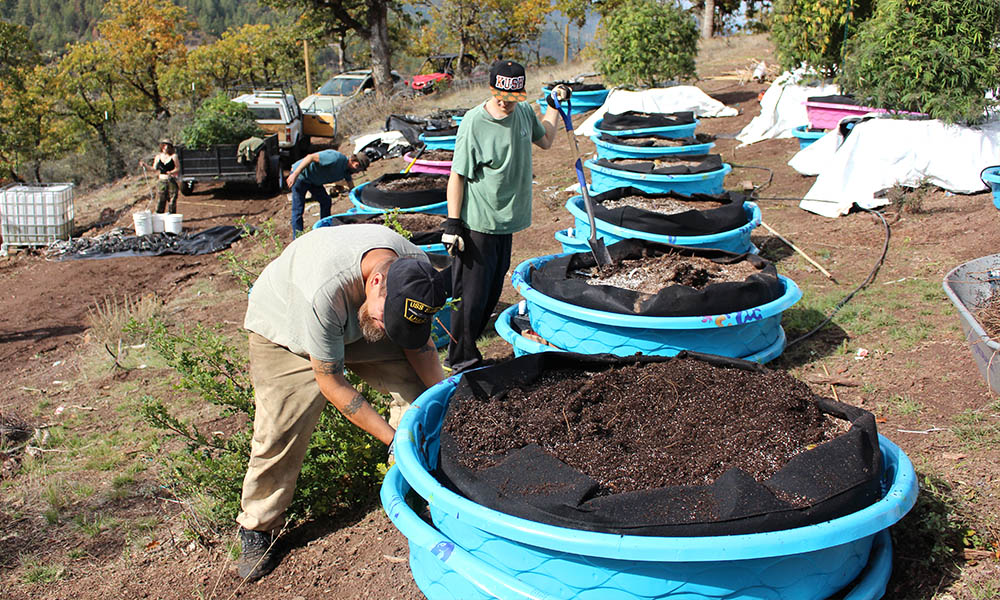
You can use 2 wicks in a wide container, placing one in each of the two holes. For larger containers such as wide trays or kiddie pools, it may be necessary to drill holes. Estimate that one wick cover about 2 square feet.
Planting mix should be added to the container.
Plant the plant or seeds.
Maintenance
Start by adding water until the tray starts to drip.
Fill up the tray with water.
As the water level drops, refill it. You can water your container periodically from the top.
When the plants absorb water from the wick, the mix automatically absorbs it.
You can find out more about the options by clicking here.
This system can also be automated. The water level in the tray can be kept at a constant level by placing the reservoir on top of the container and a flushing valve inside the tray.
Connecting trays to reservoirs allows you to water the entire garden by just filling the reservoir. This system has the advantage that water is only delivered to each tray as needed.
Ask Ed: Marijuana Success.


